To ensure a successful transition of indoor seedlings and plants from your home or greenhouse to outdoor conditions, you need to gradually harden them off over a week or two around the time of your average last frost date in spring.
This is part of a series, Indoor Seed Starting for Beginners | Sow Indoors Grow Outdoors, where I walk you through the process from seed to garden. It’s all the information I wish I had when I was getting started.
How to Prepare Indoor Seedlings for Transplanting Outdoors


This is a selection from the ebook, Seed Starting for Beginners: Sow Inside Grow Outside, sharing everything you need to know to start your own garden plants from seeds indoors.
If you would like the entire ebook with all the printable lists in one handy file, you can save it instantly here.
It’s Time for Seedling Boot Camp
About two weeks before outdoor planting time in spring, as we say goodbye to frosts, it’s time to “harden off” your seedlings and prepare them for life outdoors.
Until now, the seedlings (or young plants) have been accustomed to consistent light, moisture, and indoor temperatures, and all the comforts of home. We don’t want to shock them with the change, so we do it gradually.
This process is recommended for all types of seedlings, including veggies, annuals, perennials, and anything else you started from seed indoors.
This is also how you harden off starter plants you have purchased from a plant nursery.
The basic process is start slowly exposing the plants to sunlight and outdoor elements, gradually increasing the exposure time each day, until, after two weeks (or so—longer if you have time). By the time the risk of frost has passed, they should be ready for transplanting outdoors.
Once hardened off, you don’t have to plant everything all at once. You can keep them in their pots (if they have adequate root room and water) until you’re ready to put them in the garden or add them to outdoor containers.
During this time, keep your eye on the weather, mindful of any temperature swings, or intense sun, wind, or rain and protect them as needed (with covers, mulch, or frost cloths) to avoid stress or damage.
I use the hardening-off time (approximately 14 days) to do my garden bed prep (if the ground is dry enough), so everything is ready to go when the seedlings are officially outdoor plants.
When you’re near your average last frost date in spring and conditions are favorable, it’s time to start transitioning your seedlings to outdoor conditions. This is a gradual process where the seedlings are slowly introduced to outdoor temperatures and natural light during the day and protected at night. As exposure increases over a week or two, the seedlings will become ready for transplanting.
Contents
How to Harden Off Seedlings
1Use Bins to House the Seedlings

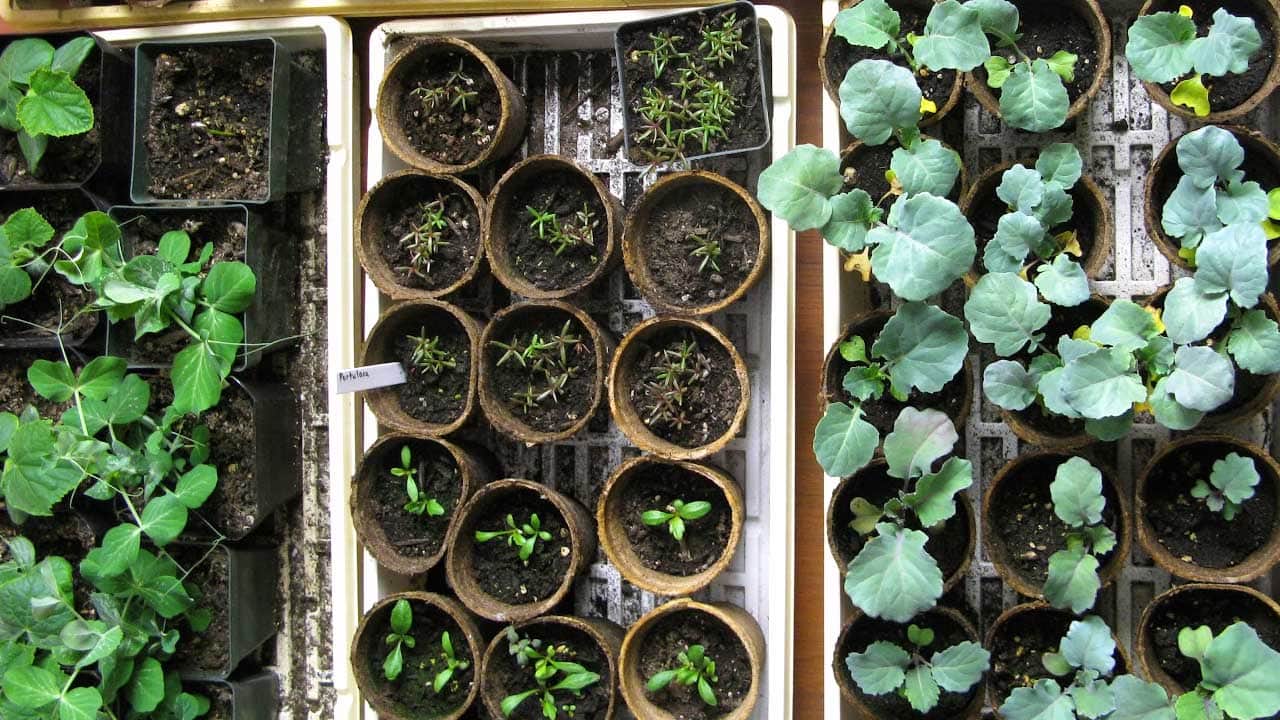
If you have a lot of seedlings like I do, you are going to want to keep them in easy-to-move containers during the hardening-off process. Depending on the weather, they may be moved inside and outside a few times a day.
- I place my seedling pots, trays, and soil blocks in plastic bins which act as mini greenhouses.
- I like bins with attached folding lids that let some light in.

2Gradually Increase Exposure to the Elements
Check the weather forecast each day to make sure there’s nothing wonky on the way.
I realize you may not be home all day to be able to do this as described, so just do your best, and, if the weather will be chilly, toss bed sheets over the bins to keep some warmth in while you’re out.
Phase 1: I put the bins out on my covered patio, in a spot that gets indirect afternoon sun, for a few hours a day. This will be the plants’ first exposure to sunlight (as opposed to grow lights) and cooler air temperatures.
As the air cools in evening, I bring the bins back inside.
Remember to keep watering during hardening off.
Set reminders on your phone so you don’t forget to move them in and out each day.

Phase 2: Gradually increase outdoor exposure, aiming for full-time life outdoors (day and night) at the end of two weeks (14 days).
During the first week, depending on the night-time temperatures, you’ll probably bring the bins inside, or, if it’s not too cool, just close the lids and/over toss a blanket over them to keep the warmth in.
During the second week, weather permitting, they may be able to stay outside 24 hours a day, still sheltered, perhaps.
Again, if any wacky weather is on the way (hard rain, snow, winds, etc.), give them some protection. Winds can snap tender stems, and unusual cold (or heat) can kill them. As mentioned, bed sheets or blankets right over the bins should be sufficient.
Phase 3: When the risk of frost has passed, your seedlings should be adjusted to life outdoors, or close to it. No more living in the house! Now is the time to plan your outdoor planting.

3Plant Seedlings Outdoors

It’s time! All that time caring for the seedlings indoors has paid off. The plants will seem tiny in the garden—and they are! —but things will grow fast. The annual flowers, herbs, and veggies will gallop along now that they have natural growing conditions. And the perennials will be nice, mature plants in just a couple of years.
Remember to keep everything watered and watch for any unusual weather changes (hot or cold). During the first few weeks these little guys will still be adapting and spreading their roots. If there’s stormy weather ahead, have your covers and cloches ready.

I use upside-down mesh waste baskets from the dollar store for cloches. This keep the squirrels and birds from destroying the young plants.

Frequently Asked Questions
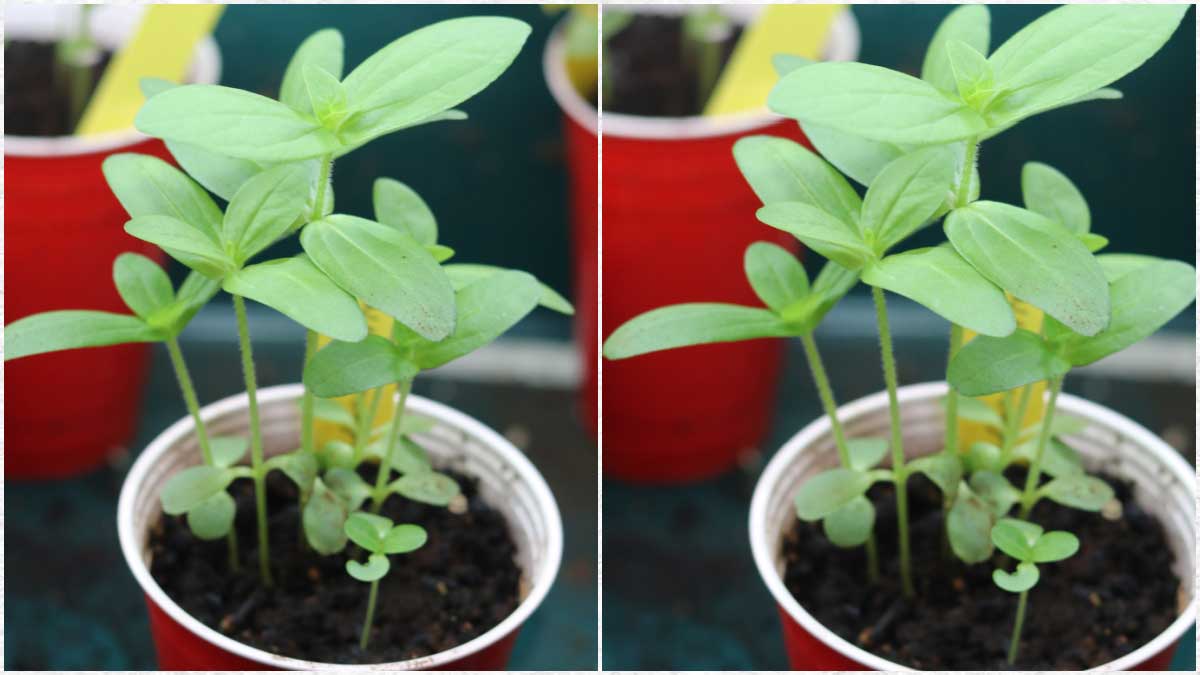
Ideally seedlings should be old enough that they have a few sets of true leaves (or more) by your average last frost date when it’s time to start hardening them off. How long it takes to grow to this stage varies with each plant species. Seed packet instructions usually recommend the right time to start seeds indoors in relation to your average last frost date in spring.
The best temperature for adjusting seedlings to outdoor conditions is not one set point but a good guideline is daytime air temperatures of 60°F (15°C) or warmer. Our homes are typically around 70°F (21°C) indoors and you never want too drastic a change between indoor and outdoor conditions.
There is not really a way to speed up the hardening off process unless the weather happens to be favorable with outdoor temperatures close to indoor conditions. In this case, the seedlings are mainly adjusting to natural light exposure over a number of days. No matter what, a gradual transition is best.
The time required all depends on your indoor and outdoor conditions but generally one to two weeks is a suitable amount of time. This allows time to gradually introduce the seedlings to natural light and outdoor temperatures during the day while you’re waiting for the risk of frosts to pass.
If the risk of frost has passed and you have transitioned your seedlings over a week or two, the hardening off process is complete. If extreme heat or cold is expected, be sure to cover newly transplanted seedlings and plants with frost covers (floating row covers) until moderate conditions resume.

Resources
Ebook

Seed Starting for Beginners
Sow Inside Grow Outside
by Melissa J. Will
Everything you need to get started with indoor seed starting for indoor and outdoor plants. Grow what you want—any time of year!
PayPal, Credit Card, Apple Pay
This ebook is a digital file (PDF format) you save to your device. It is not a physical product.
Listen
~Melissa the Empress of Dirt ♛