Use this traditional method to collect seeds from ripe tomatoes for future sowing. Heirloom and open-pollinated types are most reliable, but the process works for any tomato, including hybrids.
This is part of a series on What to Know Before You Plant Tomatoes.
Collecting and Saving Tomato Seeds

This traditional method has been used for generations to save seeds from ripe tomatoes. It starts with fermenting the seeds to remove the protective gelatinous coating, then dry the seeds in preparation for storing or sowing.
Don’t worry if that sounds like a lot, it’s really simple and you end up with good seeds.
Contents
- Getting Started
- Choosing the Best Tomatoes for Seed Saving
- How to Save Heirloom Tomato Seeds
- Resources
Getting Started
Ready to save seeds from your tomatoes for sowing next season? Just one tomato yields many seeds and this old-fashioned process is simple.
The most important tip is to start with ripe fruit so you know the seeds are mature.
We save seeds from heirlooms and other open-pollinated plants because they will reliably grow the same fruit with each generation.
Definitions vary but here is one: heirloom tomatoes are self-pollinators that have bred true for several generations. If you know the name of your tomato plant but don’t know if it’s heirloom or hybrid, just Google the name for an instant answer.
You can also save seeds from hybrid tomatoes but the fruit will (probably) not be true to the parent, or it may not fruit at all. I always save some just for fun, curious to see what they will yield—and some do produce perfectly good fruits. But, if you want to know what you’ll get, stick with open-pollinated varieties.

Before you get started, please know there are many ways to save seeds so don’t worry if you see advice that varies. So long as we end up with viable seeds, it’s all good. My setup (below) uses what I had on hand when I first started out and I’ve just reused the same supplies year after year. Once you see how it’s done, you can adapt and use what you have.
Some methods skip the fermenting process but this may result in lower quality seeds.
Choosing the Best Tomatoes for Seed Saving
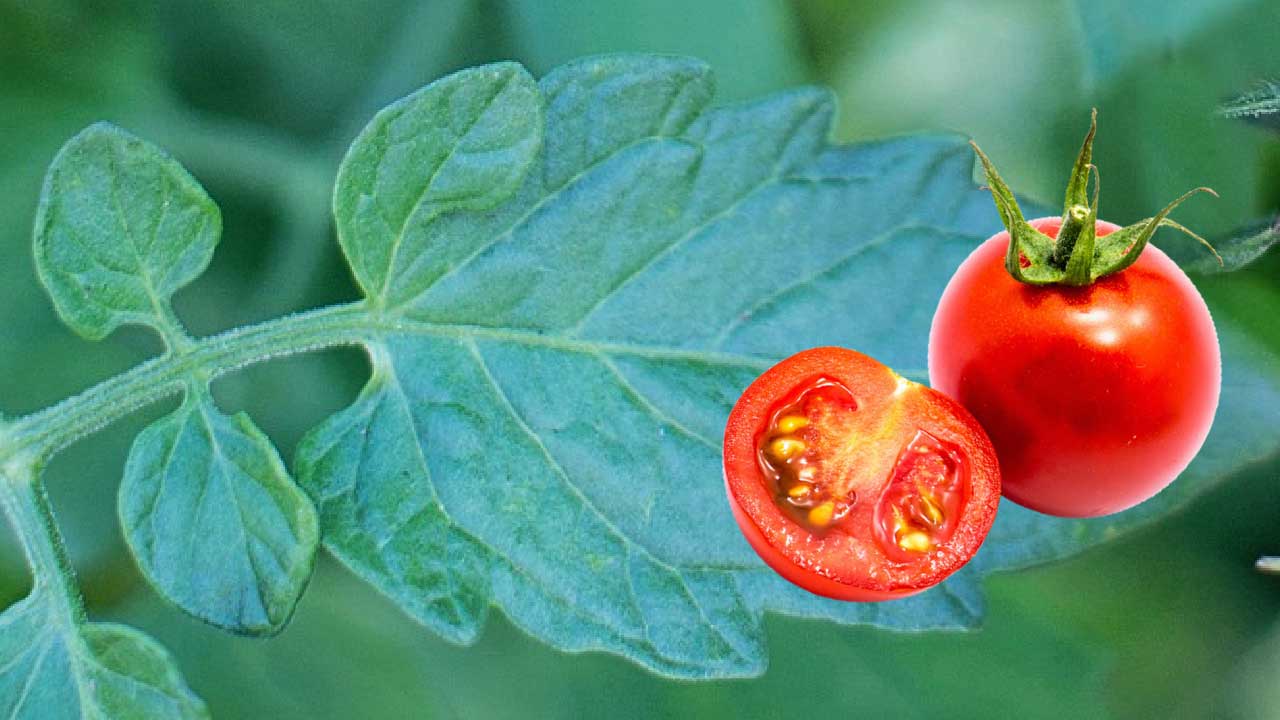
The tomatoes must be both mature and ripe, but not over-ripe.
You can tell a tomato is fully mature by cutting it open and examining it. Mature tomatoes have a gelatinous coating covering the seeds inside which is a sprout inhibitor.
Once a tomato is mature, it can ripen.
Also, fruit quality can vary even on the same plant, so use the best tomatoes for your seed saving.
If your plants endured some seasonal diseases like blight, this will not affect the quality of the seeds.
Can I save seeds from green tomatoes?
No. Green tomatoes are just starting to form seeds inside and any seeds present will be immature and not viable.
Can I save seeds from store-bought tomatoes?
You can try. Sometimes tomatoes from the supermarket are picked before the fruit is fully mature and the seeds will not be viable.
It’s also likely you won’t know what type they are and whether they are open-pollinated or hybrid.
That said, if you’re curious like I am, just try it.
My tomato fruit has seeds sprouting inside—can I grow them?
Yes. When the seeds within mature fruits begin to sprout, it is called vivipary. It is possible to continue growing these seedlings as you would any other seedlings. You can read more about vivipary and see a tomato example here.

How to Save Heirloom Tomato Seeds
There are lots of good methods for saving tomato seeds. This old-fashioned method relies on fermentation which occurs naturally during the process.
1Collect Seeds

Scoop out the seeds and their gelatinous coating.
- Slice the tomato and scoop or squeeze out the seeds with their surrounding goop into a cup. That goop (gelatinous coat) actually protects the seeds from the acid of the tomato. During this process, we will get rid of that coat and just save the seeds.
- Add enough water to cover plus a half inch or so. If the tomato is really juicy, just use its juice. The rest of the tomato is good to eat, of course.
- Tag or label the cup with the name of the tomato.
2Ferment Seeds

Cover and wait 4-5 days.
I’ve always waited several days and have great germination rates. I notice others say they are happy with just 24 hours of fermentation—so go ahead and experiment with the timing.
- It will ferment and get moldy and gross.
- Nature is genius: the fermenting process releases the seeds from their casings and kills off any pathogens lurking in the tomato.
- You may see white or green mold form. No worries, it’s all part of the process.

3Rinse Seeds
Rinse away moldy gunk until just seeds remain.
- When the fermenting has done its business, pour the gunk into a sieve at the kitchen sink.

Rinse with water until just the seeds remain.
The gelatinous coating will be gone.

4Air Dry Seeds
Air dry seeds for seven days and flip daily for even drying.
- Place the seeds on a plate to dry out for approximately seven days. My plates have numbers on them. One plate for each type of tomato. Keep track of the names!
- I also save wildcard seeds. If I’m chopping tomatoes for a meal and using a bunch of different heirlooms, I just put all the seed glumps into one cup and save them that way. I know I like all of them so I won’t mind whichever kind sprouts next year when I plant them. And it’s like a seed surprise pack.

I cover the plates with old file folders so the fruit flies won’t get too excited while the seeds are drying.

Turn the seeds over each day so they can dry out completely. I reuse my numbered plates and cups over and over again.
When they’re really dry, the seeds will slide across the plate/bowl, instead of sticking to it.

5Store Seeds

Store in labelled envelopes or containers in cool, dry place.
- You can read more on best conditions for storing seeds here.
- Sources vary saying that saved heirloom seeds will be viable anywhere from 4-10 years. I’ve got some that are 15 years old that still have good germination rates. Good storage is key.
- Also, there’s lots of online seed swappers if you want to collect more varieties and share what you have.
That’s all there is to it. Now you’ve got lots of seeds for years to come.

Resources
Tomato | Genus: Solanum
12 Sweet & Juicy Tomato Growing Tips
Annual vegetable, truly a berry
- Vines (indeterminates) or bushes (determinates)
- Full sun – at least 6 hours total direct sun per day
- Soil: well-draining and fertile
- Propagation: seed or cuttings
- Pollination: self-fertile with help from wind and insects
- More Tips: DIY tomato cages | Seed Saving | Ripen after picking
Recommended Book

Epic Tomatoes
How to Select & Grow the Best Varieties of All Time
by Craig LeHoullier
Craig LeHoullier provides everything a tomato enthusiast needs to know about growing more than 200 varieties of tomatoes, from planting to cultivating and collecting seeds at the end of the season.
~Melissa the Empress of Dirt ♛

How to Save Tomato Seeds
Equipment
Supplies & Materials
- 1 Sieve Metal Strainer for rinsing seeds
- 1 Cup for each variety
- 1 Plate for each variety
Instructions
- Scoop out the seeds and their gelatinous coating from ripe, mature tomato.
- Place in cup with just enough water to cover. Wait 4-5 days.
- Use sieve to rinse away moldy gunk until just seeds remain.
- Air dry seeds for seven days and flip daily for even drying.
- Store in labelled envelopes or containers in cool, dry place.