Make your own miniature fairy garden accessories and charms with polymer clay. I’ll show you how to make a fabulous frog, flowers, and a simple acorn birdhouse.
If you’re new to using polymer clay, see Polymer Clay Charms 101 for everything you need to know to get started.

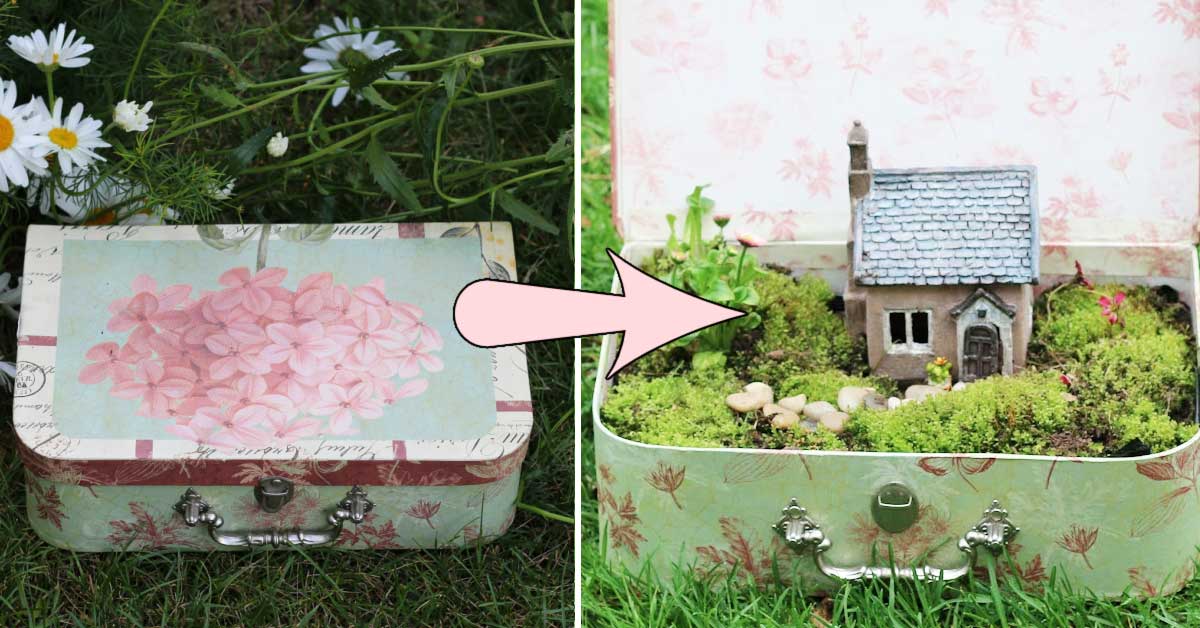
Getting Starting with Polymer Clay Miniatures

Not sure how to get started? It’s a really helpful idea to start with a theme for your fairy garden).This gives your project direction and makes it easier to decide what to create. This post has lots of theme ideas to spark your imagination.
Once you’ve picked a theme—whether it’s pirates, gnomes, cupcakes, butterflies, cars, robots, pets, or something entirely your own—make a list of all the miniature items you’ll want to include. That way, you’ll have a clear plan when it’s time to start crafting.

Once you’ve got a theme and your list of accessories, figure out which items can be made from polymer clay. Make sure you get the type of polymer clay that is baked not air-dried.
I’ll show you a few project examples and how I approach it. Once you adopt the ‘start at the end’ or ‘reverse engineering’ process, you really can make just about anything you want.
Let’s get started.
Fairy Garden Frog
There’s two basic choices with fairy garden accessories. You can make them realistic or more cartoon-y or fantasy-like. I think cartoony is easiest for beginners.
 pieces using polymer clay. It's fast and easy and will make your little garden unique.")
This style of frog has been around for decades, probably because it’s cute and super simple to make.
 pieces using polymer clay. It's fast and easy and will make your little garden unique.")
Frog Materials
- 3 colors of polymer clay: green, white, and black.
- Body/head: one big oval ball of green clay.
- Eyes: 2 white balls of clay (flattened) and 2 smaller black ones.
- Legs: roll out 2 sausages of green clay, bend in half, press onto sides of body.
- Feet: 2 flattened balls of green clay.
Bake according to directions on clay package. When baked and cool, I add a coat of polyurethane for a protective, glossy sheen.

Fairy Garden Acorn Birdhouse
This first one is not actually made of polymer clay. It’s just an acorn and a bamboo skewer. And, in addition to polymer clay, I’d encourage you to make use of all sorts of natural materials (twigs, grasses, moss, leaves, stones…) to make your fairy garden awesome.
 pieces using polymer clay and an acorn birdhouse. It's fast and easy and will make your little garden unique.")
Here’s how it’s made.
 pieces using polymer clay and an acorn birdhouse. It's fast and easy and will make your little garden unique.")
Acorns have two parts: the nut and the cap. To make any miniatures, I find an example on Pinterest of one I want to make (or one that is close enough) and then jot down what needs to happen. From there, I figure out the most logical order.
- Drill holes for door, post (to stand it up) or eye pin (to hang it up). It’s good to drill before painting and assembling in case it messes stuff up.
You can prevent mishaps by drilling a small pilot hole first and then drilling the larger door hole. - Paint the nut.
- Insert the post (bamboo skewer) or eye pin. These eye pins are used for making necklaces. Here I inserted it through the acorn cap (I just had to press firmly). Next I bent the end of the eye pin under the cap.
- Hot glue holds the cap on the nut. I use a mini heated glue dispenser.
- Hang up with invisible thread (used for quilting), thread, or fishing line.
Or insert a bamboo skewer, paint it brown (I use acrylic craft paints for everything), and stand it up in the fairy garden.
 pieces using polymer clay. It's fast and easy and will make your little garden unique.")

Fairy Garden Flowers
These flowers look good placed around the fairy garden, giving it a Wizard of Oz fantasy style.
 pieces using polymer clay. It's fast and easy and will make your little garden unique.")
The trick to making flowers is to use a few different values of the same color.
Here I took the base colors (peach and purple) and added white clay to lighten them, making 3 values of the same color.

The flower petals are made by taking tiny balls of clay and pressing them flat and thin. Start in the middle and add one petal at a time, using slightly lighter colors as you work your way out. Each new petal overlaps the previous one by half.
Floral wire is twisted and inserted in the flower before baking.
 pieces using polymer clay. It's fast and easy and will make your little garden unique.")
You can make a lot of accessories in just one afternoon. And, as you can see, they add a lot of charm to the garden.
 pieces using polymer clay. It's fast and easy and will make your little garden unique.")
I’m old school when it comes to fairy gardens, so a classic toadstool is a must.

 pieces using polymer clay. It's fast and easy and will make your little garden unique.")
I hope this has given you a starting place and the confidence to try making some charms.
The good news is, you can use and reuse the clay until you make something you like. Just bake it when you’re ready to commit.
And be sure to check the Polymer Charms 101 Starter Guide for more tips and tools. And make a fairy garden fountain that really works!
~Melissa the Empress of Dirt ♛
