With seeds in hand and supplies ready, it’s time to sow. Here’s how I start seeds indoors step by step to grow strong, healthy plants for the outdoor garden.
This is part of a series, Indoor Seed Starting for Beginners | Sow Indoors Grow Outdoors, where I walk you through the process from seed to garden. It’s all the information I wish I had when I was getting started.
How to Sow Seeds Indoors Step-by-Step


This is a selection from the ebook, Seed Starting for Beginners: Sow Inside Grow Outside, sharing everything you need to know to start your own garden plants from seeds indoors.
If you would like the entire ebook with all the printable lists in one handy file, you can save it instantly here.
Let’s Sow
The main reason cold climate gardeners sow seeds indoors in late winter and spring is to get a jump start on the outdoor growing season.
Many plants take longer to fruit and flower than our frost-free garden days allow, so to get around this, we begin the seed sowing indoors instead.
Getting the supplies ready is the most time-consuming part, but thoughtful preparations will definitely pay off.
With good quality seeds and the right setup, seed starting (and the ongoing process of caring for the new plants), is not just functional, it’s very enjoyable as well.
As I mentioned in the best reasons to start plants from seed indoors, there’s nothing like indoor gardening to hurdle past the winter blues. It’s basic survival for those of us in cold climates.
Indoor seed starting is often suggested for vegetables, especially ones like tomatoes that can’t take cold spring weather, or greens like broccoli that take a long time to grow, but there are lots of other options as well.
You can also start herbs, flowering annuals, and perennials. This explains the difference between annuals and perennials.
Always check the details in the seed catalog or on the seed packet first, and, unless some special germination conditions are required, most seeds can be started indoors.
Glossary
- Plants by Life Cycle
- Annuals are plants that flower or fruit in the first year, including many flowers, herbs, and vegetables. Sunflowers are a good example.
- Biennials have a two-year biological cycle. They grow leaves the first year, and flower, seed, and die in the second year. Foxgloves are an example of this.
- Perennials are plants that live on for several years. They go dormant in winter and resume growth in the warmer seasons. Perennials can flower or fruit year after year.
- Direct sowing means sowing the seeds directly in the garden (in-ground or containers) where they will live out their happy plant lives.
- Indoor sowing means we start the seeds indoors. We may grow them until it is time to plant them in the garden, giving us a jump start over direct sowing, or continue growing indoors, if it suits the plant species.
With so many options, we have to dial it back down to what we have room for and what’s most important.
This is your opportunity to grow things your local garden nurseries don’t offer including multitudes of heirloom vegetables plants and other unusual plants, or plants that are too expensive to buy as mature plants.
Indoor Seed Sowing Preparations
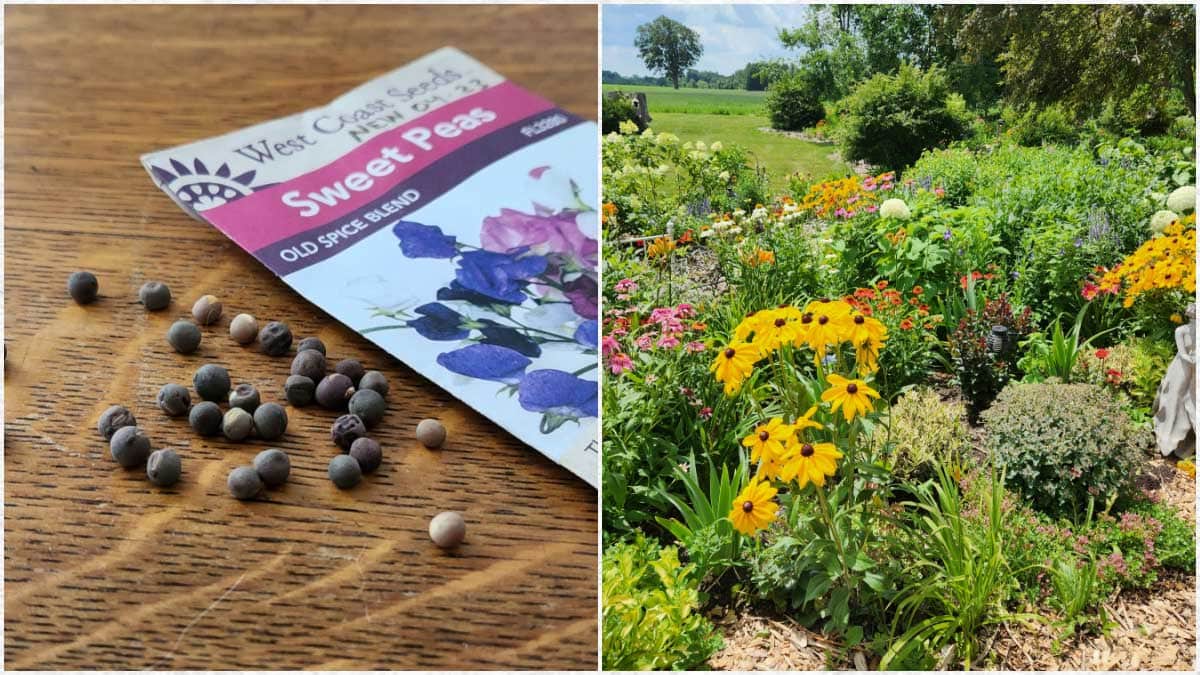
1Order Seeds

This is the part many of us love: poring over the seed catalogs and online shops and narrowing down our choices.
There are so many wonderful plants to try.
For the sake of your finances, you may want to team up with some friends to share orders as we rarely need all the seeds in one pack and they do lose their viability within a few years.
Mail Order Seeds
- SeedsNow (US Shop | US Shipping)
- High Mowing Organic Seeds (US Shop | US Shipping)
- West Coast Seeds (Canadian Shop | US & CAD Shipping)
2Get Your Supplies Ready

If you’re new to this, you may need to purchase some supplies first, or sort through your basement or shed to find what you need.
I strongly suggest getting your sowing and growing area set up first, and then do the seed sowing on another day. It takes the stress out.
This shares exactly what supplies you need to get started.
Once you have everything gathered, you will need to wash and sanitize your seed trays, pots, containers, and plant tags.
I wash mine in a tub of mild dish soap (an old baby bath tub is perfect for this), rinse thoroughly, and then soak in a bleach solution (4 teaspoons bleach per quart of water for at least one minute) to disinfect. Rinse thoroughly and allow to dry before use.

3Plan Your Sowing Schedule
Each seed type requires a different amount of time to get started indoors (germinate, become a seedling, and start maturing) before it’s ready for planting outdoors after last frost.
I created this streamlined printable sowing schedule so you can combine different seeds into sowing groups every two weeks.
- Print out the schedule, grab your seed packets, and layout your personalized schedule.
- Read all the seed packets and watch for any seeds that may require special care in advance like pre-chilling, pre-soaking, or scraping the seed coats.
- Pre-requirements like pre-chilling may take days or weeks depending on the seed type.
Height Alert
Every plant type grows at different rates and reaches different heights. When we’re using grow lights, we need the lights about 2 to 3-inches above the tops of the seedlings.
But, with every plant type growing differently, suddenly some will be too close to the lights and others will be too far.
So, what’s the solution?
Whether you use the soil block method or sow the seeds in pots, at some point you will be moving the seedlings around to keep everyone is happy.
I group same-type plants together in the trays. If I see a height problem coming up, I group my seedlings by size in smaller trays, and place wood blocks under whichever ones need to be higher up than others.
The lights stay where they are, and the plant containers are adjusted individually as needed.
Having more than one shelf of lights also helps. Taller plants may all end up on one shelf, and shorter plants on another.
You’ll figure it out when you get there, but I just wanted to give a heads-up that this may come up if you sow several types of seeds.
Empress of Dirt
FREE TIP SHEET
Week-by-week Seed Starting Schedule
File includes seed starting plans timed in relation to your typical last frost date.
Pages are formatted so you can add your own notes.

The download link will be sent to your email.
Joining our free newsletter list is optional at checkout.
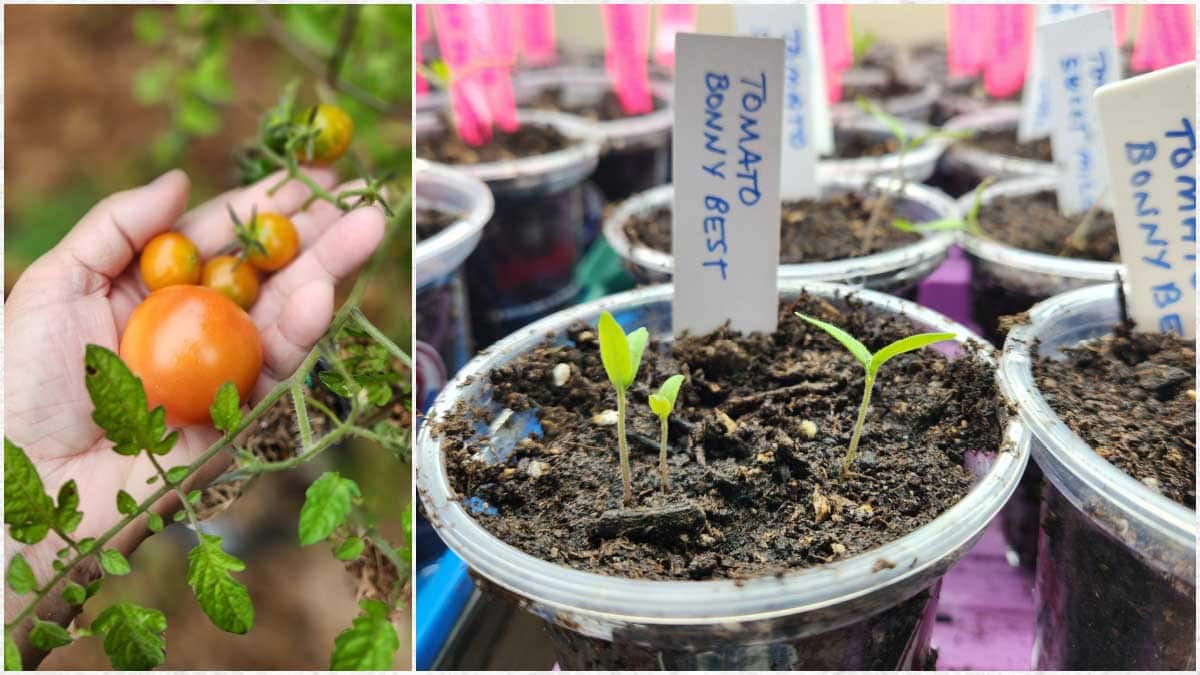
4Prepare Your Sowing Plan, Tags, and Notes
It’s worth the effort to keep track of what you sow (the seed name, seed company, date, container, number of days it takes to germinate, number of days to maturity) so you can track progress and learn about all the growth stages as they unfold before you.
Free Printable Seed Starting Notes
You can make your own seed sowing notes or print out this one:
Empress of Dirt
FREE TIP SHEET
Seed Starting Tracking Notes
Includes printable note templates for tracking seed starting.
The download link will be sent to your email.
Joining our free newsletter list is optional at checkout.
It shows examples of my notes and provides a preformatted page that you can print out as many times as you like.
Tags and Labels
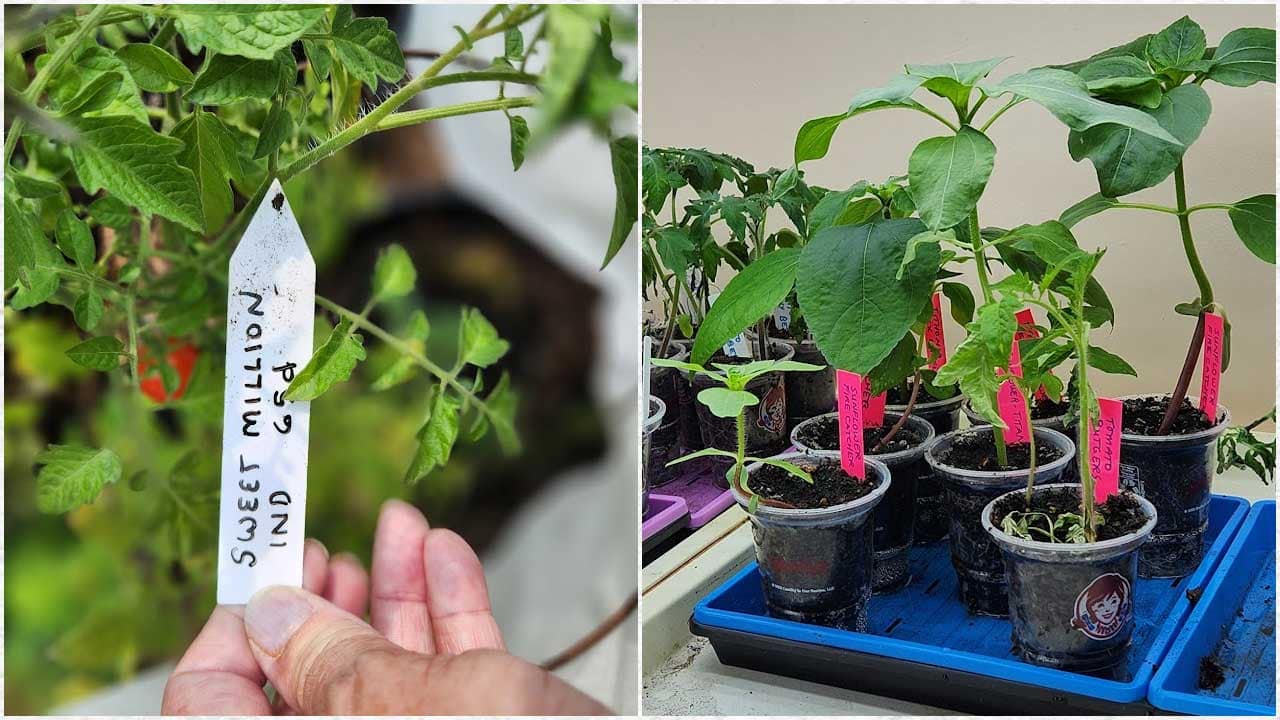
The other important part is tags or labels. Each seedling (or tray of same seedlings) needs an identity tag that stays with it.
Two options are to either create tags or label the trays or pots.
This has tips for making low-cost, simple plant tags for seed sowing.
I mark the actual seed tray, because I use soil blocks in a grid system, so it’s easy to label the actual tray with marker, just like cells in a spreadsheet. This shows how I do it.

If you are using pots, you can also use masking tape and a Sharpie to label the pot.
Plastic or wood plant markers can work too if they are small enough to fit below the grow lights.
5Read the Tips for Success
This article gives a good overview of the seed sowing process and points out several things to watch for.
6Prepare Soil Blocks or Pots
Okay, it’s time! You’ve got everything setup, your seeds are ready, you have a sowing plan, your tags are written, pots are clean, sanitized, and labelled.
I assume you have planned out what you’re sowing so you know how many soil blocks (or pots) you will need. I happen to prefer soil blocks because it prevents plant roots from tangling and they’re easy to move around, but any pots or trays with drainage holes will do.
Combine Seed Starting Mix with Water
I use a bucket or tub or large tray and rubber gloves.
- Pour your seed starting mix in the bucket.
- Gradually add warm water and combine.
- You want the mixture moist but not soaking wet.
- The test is: grab a clump of the mixture in your hand and squeeze.
- It should hold together in a clump without any water dripping out.
- If it crumbles, you need more water. Work slowly so you don’t over-water it.
If you do over-water it and run out of seed starting mix, you can squeeze out the excess water and allow it to dry out for a while before using the soil blocking tool.
Create Soil Blocks

Have your seed sowing trays ready and labelled. You can also prepare the soil blocks for future weeks. They store nicely and can be re-damped as needed.
- Press the soil blocking tool into the mixture.
- Make sure each cell block is packed with the mixture.
- Place the tool over your seedling tray and release the blocks.
If you are using pots instead of soil blocks, fill each pot with seed starting mix and press it down. Dip the pot in a bucket of water. The mix will sink down. Top it up and wet again. You want it filled, leaving about an one-half to one-inch free at the top.
Soil Blocking Tool Set
If you love the soil blocking system, you might want the complete set. As your seedlings grow, you move them into the next size block. It’s very handy!
This Soil Blocker Set at Amazon comes with 3 sizes.
The smallest size block fits within the mid-size block. The mid-size block fits into the large block.
- The 3/4-inch mini blocker tool for starting seeds.
- The mid-size 2-inch tool.
- The large size 4-inch tool.
I have the 2-inch tool, which works fine on its own, but would love to have the whole set.
7Sow Seeds
At last! Grab a white plate or dish and your seeds. This makes it easier to see the seeds. Have your seed starting note sheets and a pen ready. Be sure your seedling trays or pots are already labelled.
Wash your hands and careful opening the seed packets so they don’t spill.
Open your seeds, working with one packet at a time, and pour them out onto the plate. It can be startling how tiny or odd some seeds are. If you need to, use tweezers to handle them.
I sow one seed per soil block. This goes against the habits of many other gardeners. My reason is: I’ve tested the seeds for viability using this method, I know the germination rates are going to be good, and I do not want to thin out the seedlings later.

Thinning seedlings is a fine motor skill I’m not very good at, and, to me, it wastes seeds.
Instead of growing far more than I need and getting rid of a bunch, I grow just what I need with a few extras in case something doesn’t germinate.
Double check the sowing instructions on the seed packet. In general, seeds are sown at a depth twice their width.
Some are really tiny and placed on the surface of the growing medium; others need darkness to germinate and are sown just below the surface.
If you’re using soil blocks, the soil blocking tool creates a little indent on the soil surface for the seed to be placed.
Sometimes, this indent is too deep for the seed, so I use a dibber or pencil to push some seed mix into the hole, add the seed, and then bury it with more mix.
After each seed type, stop, put the leftover seeds safely away, jot down any notes needed, and then carry on until all your seeds are sown.
Be sure everything is tagged, and, if something gets mixed up, write down whatever you know.
While you may not recognize a seedling in its early days, eventually the plant will be identifiable!
When you’re done, make sure the sowing mix is still moist, particularly the tops where the seeds are. They must have contact with warmth and moisture to germinate.
If you need to water, aim the watering can spout at the base of the soil blocks and use warm water.
Never water the seeds directly or they can wash away. You can also use a plant mister with warm water.
While most seeds do not need light to germinate, there is no problem having the lights on from this stage onward. Just don’t let the soil dry out.
Place the lights (or adjust your pots) so the lights are 2 to 3-inches above the soil surface and set the timer so they run for approximately 14 hours a day (12 hours is fine at night if they will also get indirect light during the day).
Take photos if you like. If you’re growing some fast-germinators, they could pop up within days. It’s very cool.
Next
It’s important to check your seeds daily so they are never allowed to dry out.
This explains the care and maintenance of your future seedlings.
And, in two weeks, it will be time to sow your next group of seeds.
Resources
Ebook

Seed Starting for Beginners
Sow Inside Grow Outside
by Melissa J. Will
Everything you need to get started with indoor seed starting for indoor and outdoor plants. Grow what you want—any time of year!
PayPal, Credit Card, Apple Pay
This ebook is a digital file (PDF format) you save to your device. It is not a physical product.
Ebook

Empress of Dirt
Printable Garden Planner & Notes
An assortment of basic garden checklists, undated calendars, and note pages for planning and tracking your gardening season.
PayPal, Credit Card, Apple Pay
This is a digital file (PDF format) you save to your device to print at home. It is not a physical product.
~Melissa the Empress of Dirt ♛