Avoid common beginner mistakes with this practical guide to starting seeds indoors. Follow the step by step checklist to boost germination and grow sturdy, healthy seedlings.
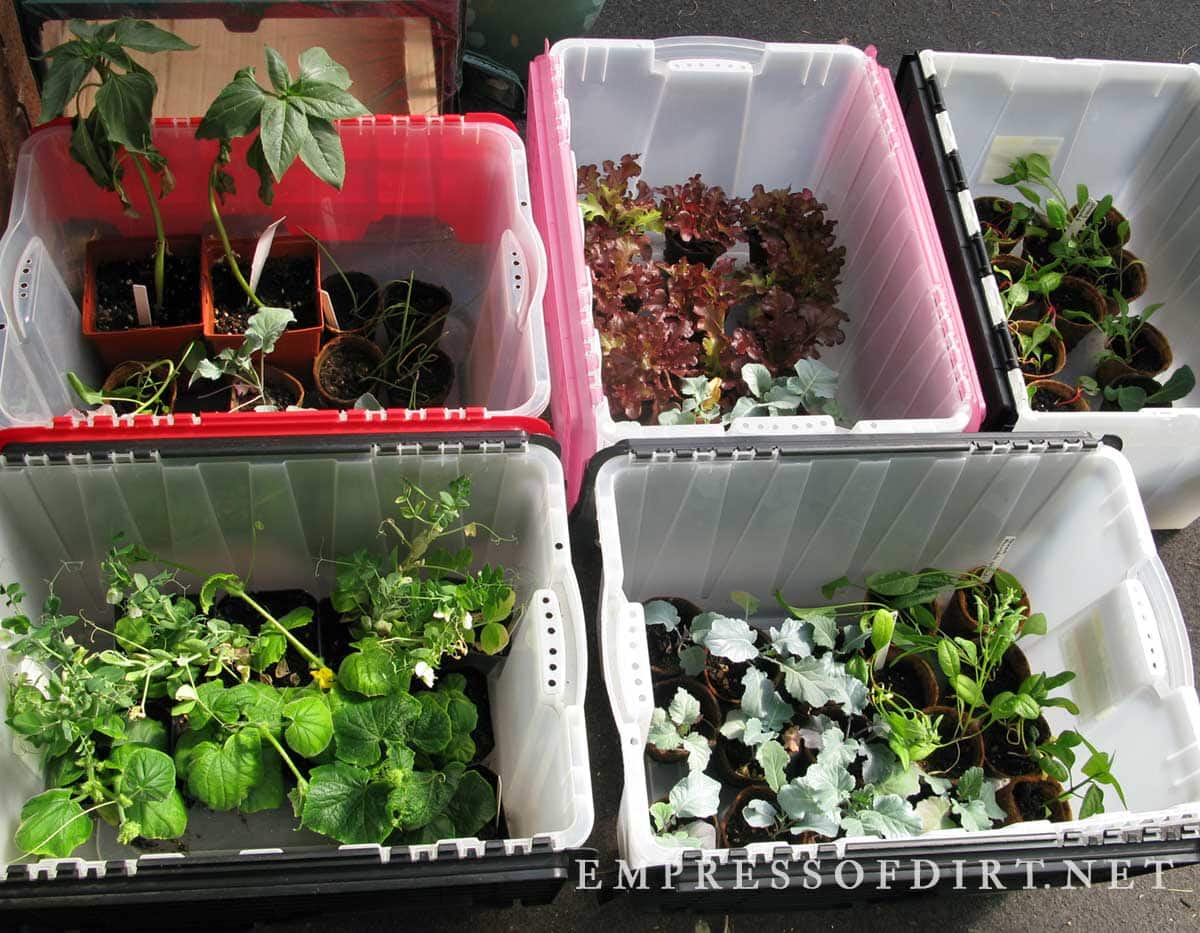
If you’re just getting started, this shows the supplies I use for all my indoor seed starting.
Best Tips for Indoor Seed Starting Success

This is a selection from the ebook, Seed Starting for Beginners: Sow Inside Grow Outside, sharing everything you need to know to start your own garden plants from seeds indoors.
If you would like the entire ebook with all the printable lists in one handy file, you can save it instantly here.
Read Before You Sow
Before we jump into the actual seed sowing instructions, have a look at these tips so you can avoid some rookie mistakes. With the right seeds, methods, and precautions, there’s no reason you can’t have dozens of beautiful, healthy starter plants ready for planting by late spring.
1Seed Selection
It starts with the best quality, most appropriate seeds, of course.
- Avoid invasive species
Top of the list is to make sure that you’re not choosing invasive plant species that are causing issues locally. This list is different depending on where you are so find a trusted local source to guide your decisions.
- Support what matters to you
Many seed companies obtain their seeds from a variety of sources. And those seeds can be just fine.
But, if you like to shop locally, support local growers, or prefer organically-grown seeds, it’s worth looking for seed sellers that tick those boxes. - Use fresh seeds that have been properly stored
Overall, the younger the seeds, the more viable they are. Check recommended sow-by dates and use the freshest seeds when it matters most. Starting a veggie patch is a good example.
I still hang onto to lots of older seeds (it’s hard to give them up) knowing germination rates will likely be much lower than fresh ones. If in doubt, you can do germination tests first.
This lists how long seeds typically remain viable.
Find Your Frost Dates & Hardiness Zone
Plant Hardiness Zones | ![]() United States |
United States | ![]() Canada
Canada
These are listed on seed packets and plant tags to guide your choices.
Average Frost Dates | Use this calculator at Almanac.com. Enter your city and state or province to find your first and last frost dates and number of frost-free days.
Ecoregion | Learn about local native plants, animal species, and environmental conditions to make garden choices that benefit your ecosystem.
Learn More: Understanding Frosts & Freezing For Gardeners
2Seed Sowing
Before you sow, double-check the seed packet for any special growing instructions.
- Some seeds need a chilling period (in the fridge) first for a few weeks (known as “stratification“).
- Others require pre-soaking in water, or their coats scratched to enable sprouting (“scarification“).
- Many are simply ready to sow.

Check the expected germination rate and sow extra seeds to accommodate it. For example, if your flower seed packet says the average germination rate (fresh, healthy seeds) is 80%, this means you can expect approximately 8 out of every 10 seeds sown to sprout.
If you want at least 10 plants, I’d sow 14 just to be sure (an heir and some spares).
Some seeds have really low germination rates (normally) or grow really slowly so it’s always good to read your seed packets well in advance.
You can use these step-by-step instructions to first test seeds for viability here.
A good growing environment for indoor seed starting is as pathogen-free as possible (although there are always some—that’s life). To ensure this, use proper seed starting mix (or make your own), and wash and disinfect any containers, trays, and tags before use. The recommended spray solution is 4 teaspoons bleach per quart of water for at least one minute, then rinse and dry thoroughly.
This, along with the use of an electric fan to circulate air can help prevent unwanted gnats, mold, algae, and soil-borne fungi from forming or damping-off (pathogen) issues. This describes the symptoms of damping-off disease. I’ve never had it happen yet, so knock wood to that.
Some gardeners sprinkle cinnamon on their seed starting mix in hopes of preventing fungal diseases. This explains what is known about cinnamon as a fungicide.
Provide consistent warmth and moisture. Seeds are comprised of a protective coat with embryonic tissue and food stores inside, providing all the energy needed for the initial growth stages. We store them in cool, dry environments to keep them dormant. To awaken a seed and trigger germination, conditions must change. We do this by exposing the seed to moisture and warmth, using water and growing medium (seed starting mix). The wrong growing medium (too heavy, not sanitized) and/or moisture and temperature extremes (too damp, cold, or warm) can stall growth or kill the seedling.
Watch your sowing depth. Check your seed packet for instructions. Most seeds are sown at a depth twice their longest side. Really tiny seeds like poppies are placed on the surface because they need light to germinate. If we’re really getting picky, better to plant a seed a bit too shallow than deep, otherwise the seed will use up too much energy getting to the surface. But either way, contact with moisture and warmth is key and most seeds sort it out.
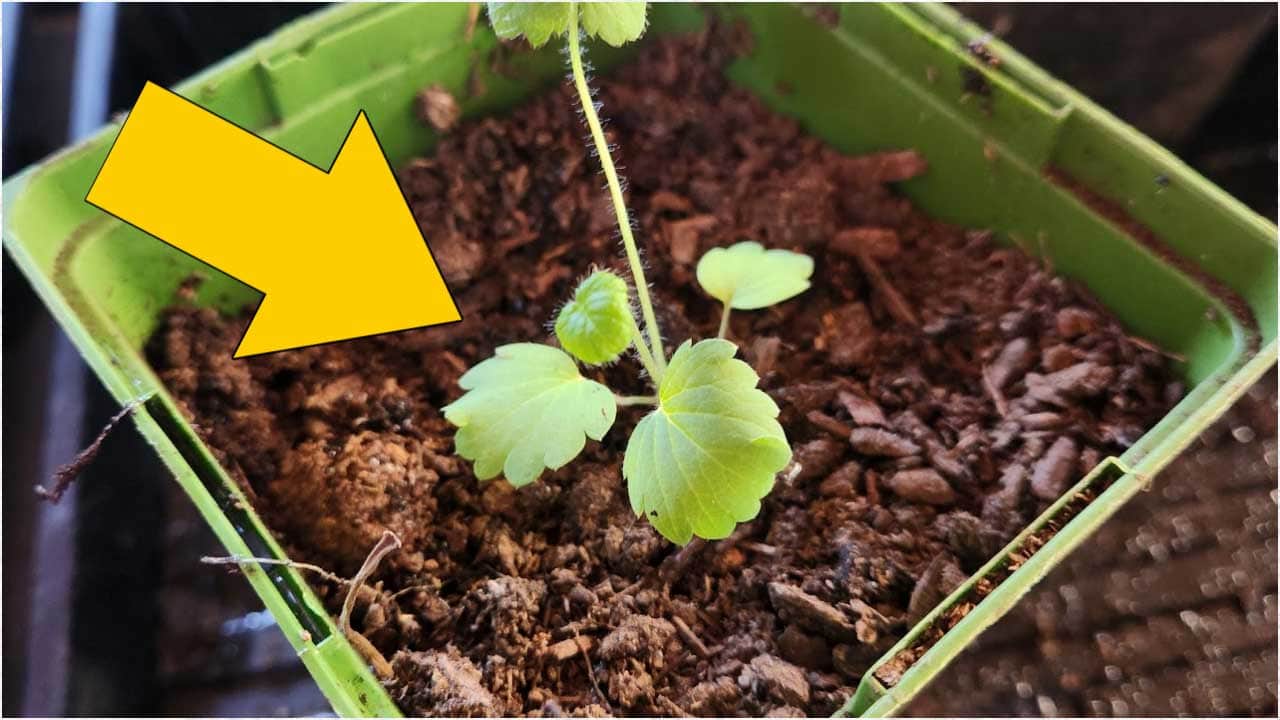
Mind the crowd. My preferred method is sow seeds one at a time, spaced out, so they never require thinning, which is essentially weeding for seedlings—keeping some, discarding the excess. Others like to sow many seeds and thin them out later. Either way, by the time true leaves are formed, be sure your seedlings have enough root room to grow.
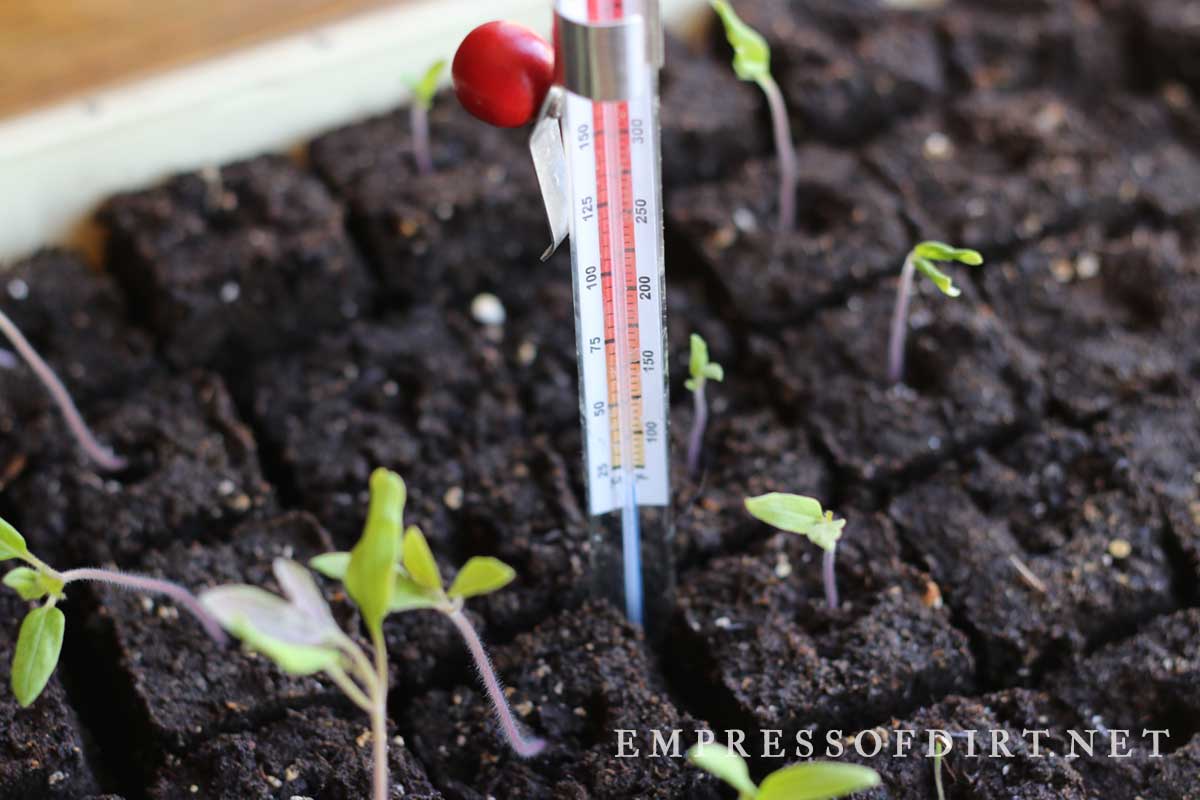
Pay attention to temperature. Each type of plant has preferred germination temperatures.
While it’s completely unrealistic to accommodate each individual temperature need, it’s very helpful to group seeds with similar preferences together.
You can find the recommended soil temperatures here:
Example
Peppers are a warm crop and their best germination temperature is 85°F.
- 10 pepper seeds started at 60°F, may yield one or two plants, and take weeks to sprout.
- The same number of seeds started at 85°F may sprout within days and yield 8-10 happy plants.
If I’m starting a lot of different seeds, I start them all in one space and keep the room temperature and growing mix around 69°F | 20°C, adequately accommodating the warm and cool seed groups.
If I was just starting peppers, I would warm things up, either by using a heat mat, crock pot, or Instant Pot (Amazon). There are seed starting warming tips here.
Make sure any water used is a bit warmer than this.

You can check soil temperature with a household meat thermometer. I also have this list of tips for ways to warm up your seed starting area to improve germination.
Most seeds germinate in darkness and then grow with light. It is recommended you keep your grow lights on approximately 12 hours each night (or 14 to 16 hours during the day) and place them 2-3 inches maximum above the tops of the seedlings.
If the light is not directly above the seedlings, they will stretch and become weak and leggy. Also, rotate your growing containers every few days to avoid leaning.
Empress of Dirt
FREE TIP SHEET
Best Soil Temperatures For Sowing Vegetables
This file includes a chart showing the optimum soil temperatures for sowing common vegetables.

The download link will be sent to your email.
Joining our free newsletter list is optional at checkout.
3Seedling Growing
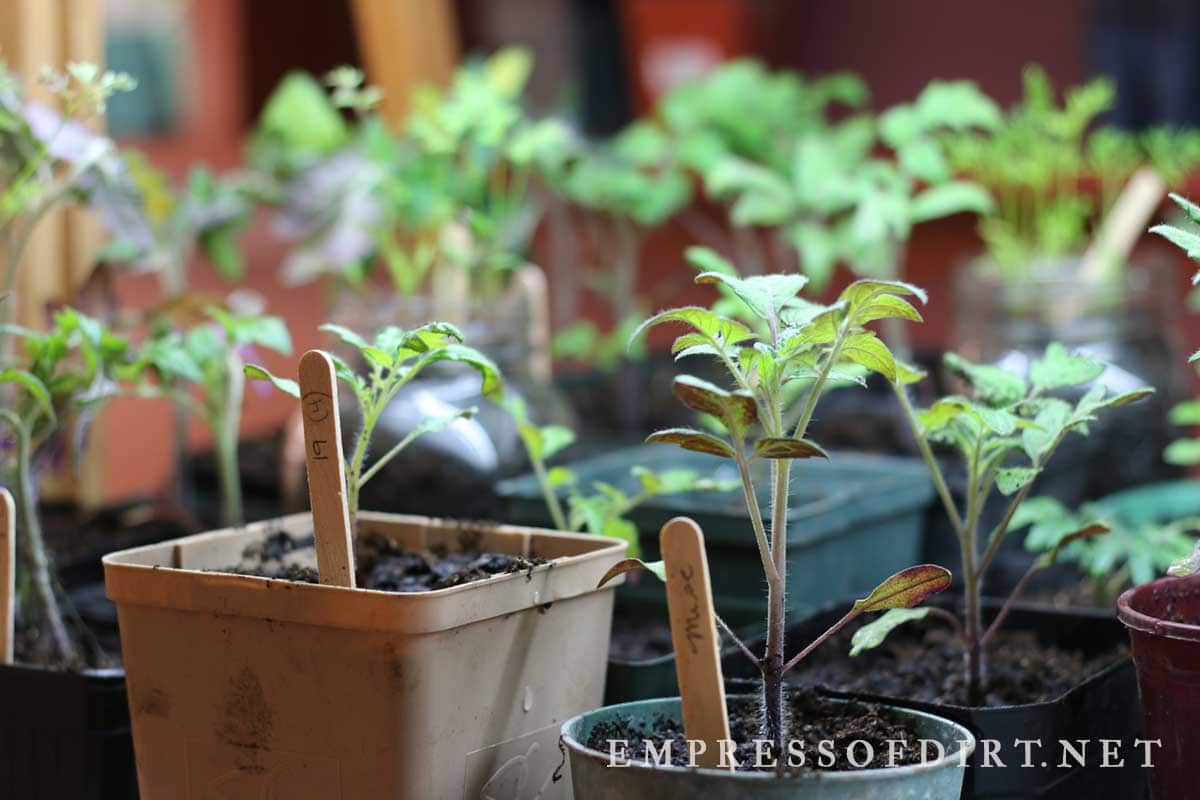
Germination times vary greatly with each seed type. Check your seed packet to know when you should expect each seed to sprout. Some are very quick (within a day or two). Others can take weeks or months. Be sure to tag and track everything so you know what’s what and when to expect action.
This has recommendations for simple, DIY low-cost tags to track seedlings.

Once sprouted, you also need to know the time it takes for the plant to mature. This is also listed on most seed packets. Even within the same species, times can vary greatly. Tiny Tim tomatoes can be ready to eat in just 45 days. Marvel Stripe tomatoes may take as long as 110 days.
An organic, liquid or granular fertilizer (at half strength or less) can be used once the seedlings are at least two-inches tall and have several true leaves to ensure adequate nutrition. By this point the plant has been moved from its seed starter mix and into proper organic potting soil.
4Transplanting Outdoors
If you’ve raised the seed to transplant stage, congratulations! The next thing to watch out for are:
- Providing a gentle transition to life outdoors. This is called ‘hardening off’ and it is explained fully here.
- Make sure you have the right outdoor growing conditions available in your garden including required light (sun, part-shade, shade), soil type (sand, loam, clay), water (dry soil or well-draining), and so on.
- If you don’t have the right space available, container growing may be the answer. I do this for annuals (flowers and veggies) all the time.

Resources
Ebook

Seed Starting for Beginners
Sow Inside Grow Outside
by Melissa J. Will
Everything you need to get started with indoor seed starting for indoor and outdoor plants. Grow what you want—any time of year!
PayPal, Credit Card, Apple Pay
This ebook is a digital file (PDF format) you save to your device. It is not a physical product.
What is Days to Maturity?
Days to maturity or days to harvest is the average number of days a plant takes to reach maturity. Depending on the type of plant, this could be when a vegetable is ready to harvest or a flowering plant is in bloom. It’s a ballpark number to assist with planning.
While there’s no universal consensus, I use the following for my calculations.
- For seeds sown directly outdoors, counting begins after germination when the first true leaves appear.
- If seeds are started indoors, counting begins when they are transplanted outdoors.
Even then, it’s still just a guideline. Weather and growing conditions make a big difference. Plants can only grow so fast, even in ideal conditions. Excessive heat, drought, or other stress can slow or stall growth. Later in the season, shorter days and cooler temperatures also reduce growth rates.
Knowing the estimated days to maturity is most helpful for fruiting plants like tomato, zucchini, peas, or watermelon that need time to flower and fruit in the growing season.
It’s not really an issue for vegetables grown for the solely for their stems and leaves since they can be harvested at any time.
Find Your Frost Dates & Hardiness Zone
Plant Hardiness Zones | ![]() United States |
United States | ![]() Canada
Canada
These are listed on seed packets and plant tags to guide your choices.
Average Frost Dates | Use this calculator at Almanac.com. Enter your city and state or province to find your first and last frost dates and number of frost-free days.
Ecoregion | Learn about local native plants, animal species, and environmental conditions to make garden choices that benefit your ecosystem.
Learn More: Understanding Frosts & Freezing For Gardeners
Listen
NEW! Click play to listen:That’s a good list! If you can do much of what I’ve suggested here, you are on the path to seed sowing success.
If you found this helpful, the ebook Seed Starting For Beginners is packed with more tips.
~Melissa the Empress of Dirt ♛